
1. Understanding P20 Steel Hardness Levels
The right hardness level for P20 steel can make or break your tooling project. Get it wrong, and you’re facing costly failures. It is strictly a trade-off: softer states machine faster but wear out quickly, while harder states extend mold life but eat up cutting tools.
Most projects rely on standard pre-hardened stock to start molding immediately, but that often isn’t enough for abrasive glass-filled plastics. Whether you need the easy machinability of the annealed state or the armor-like durability of surface hardening, this guide breaks down exactly which specification fits your production needs
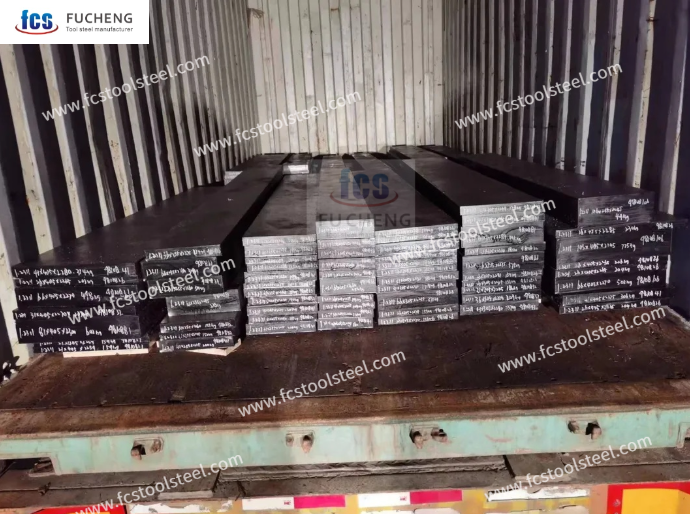
2.Annealed State: Ease of Machining
P20 steel works great for mold making after annealing. This soft state hits 175-200 HB (same as HRB 85-100). You can cut detailed shapes easily before final hardening.
Standard Annealing Process Parameters
Temperature control matters for consistent results:
- Heat the steel to 775-790°C and hold until heat spreads through
- Cool inside the furnace to room temperature
- Final hardness settles at 200 HB
Controlled cooling stops internal stress. The material stays soft all through.
Mechanical Properties in Annealed State
Performance comparison across different P20 conditions:
| Condition | Hardness | Tensile Strength (MPa) | Key Advantage |
|---|---|---|---|
| Annealed | HRB 85-100 / 200 HB | 540 (up to 700 after cold working) | 85% machinability (vs. 1215 steel baseline 100%) |
| Pre-hardened | HRC 28-34 | – | Ready-to-use after oil quenching |
| P20H Variant | HRC 33-38 | – | Standard state for large molds |
Primary Applications for Annealed P20
Annealed P20 steel works best when you need heavy machining:
- Plastic injection molds – The 200 HB hardness lets you cut cavities easily. You can polish to mirror finishes.
- Die-casting tooling – Lower hardness makes complex shapes easier to machine. This happens before heat treatment.
- Precision instrument components – The annealed state keeps dimensions stable during manufacturing.
- Drop forging dies – Forge at 930-1050°C first. Then cool to annealed state. This makes die cavity machining cheaper.
Annealed P20 gives you 15% better machinability than pre-hardened states. Your tools last longer and cutting goes faster.
3. Pre-hardened Grades: Ready to Use
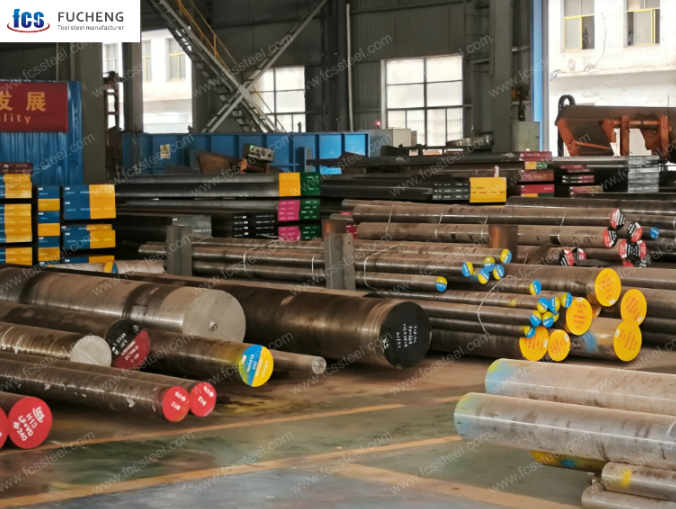
Pre-hardened P20 steel arrives ready for machining. This saves you time and money. Most suppliers deliver this material at HRC 28-36. You skip the heat treatment step.
Standard Pre-hardened Hardness Specifications
Manufacturers and standards produce different hardness ranges:
Chinese domestic P20 grades:
– Older versions: HRC 26-30
– Current pre-hardened standard: HRC 30-34
– GB/T 1299-2000 specification (3Cr2Mo): HRC 30-32
Imported P20 variants offer tighter control:
| Grade | Hardness Range (HRC) | Brinell Equivalent (HB) | Special Features |
|---|---|---|---|
| Standard P20 | 28-32 | – | Basic mold applications |
| P20H | 30-34 | – | Medium-duty tooling |
| P20HH | 32-36 | 310-352 | High-performance grade |
| P20HH (Finkl Hi-Hard) | 33-38 | 310-352 | Premium European quality |
The HRC 30-36 range (285-330 HB) matches European standards. Think Swedish 618 and German GS-2311. Global sourcing becomes easier with this consistency.
Pick Your Hardness Range
Pre-hardened P20 isn’t generic. You need the exact hardness for your job. This prevents you from paying for specs you don’t use. Plus, it stops failure on heavy-duty projects.
| Hardness (HRC) | Best Suited For | Key Capabilities |
|---|---|---|
| 28 – 32 | General Purpose & Prototyping | Great for simple injection molds. Use this for low-volume runs where you want easy machining. |
| 30 – 34 | Medium-Duty Production | Handles up to 500,000 shots. Works well with standard glass-fiber plastics. |
| 32 – 38 | High Volume & Abrasive Materials | Built for long mold life. It fights wear from abrasive compounds. Just know you need better cutting tools here. |
Note: Running abrasive materials non-stop? Don’t trust core hardness alone. Look into surface-treated options instead.
Pro Tip: Watch your machinability. Higher hardness makes the steel tougher to cut, so adjust your process.
Pre-hardened P20 stays stable during machining. The through-hardened structure stops warping and size changes. Machine the mold cavity, polish surfaces, and start production right away.
Key advantage: Surface-to-core hardness stays uniform within 300mm blocks. This removes soft spots. Wear patterns stay even during production.
The HRC 32-36 range gives you the best balance. It’s hard enough for wear resistance. Yet it’s soft enough for easy machining with standard carbide tools. Your cutting speeds stay fast. Tool life stays good.
Higher hardness grades (HRC 33-38) need premium cutting tools. But they deliver 2-3x longer mold life. Check your production volume first. The extra material cost pays off after 500,000 shots.
4. P20+HH: The High Hardness Option
P20+HH fills the gap between standard pre-hardened steel and premium grades like H13. Typically supplied at 33-38 HRC, it upgrades performance without the heavy cost of full heat treatment. You pay roughly 15% more upfront to double your mold’s lifespan.
| Feature | Specification & Impact |
|---|---|
| Hardness Range | 33 – 38 HRC (Standard Supply) Heat-treated types: HRC 40-45 Maximum: HRC 45+ with controlled quenching |
| Comparision | Vs Standard P20: Better polish & wear resistance. Vs H13: 30% cheaper but less heat resistance. |
| Best Applications | • Glass-filled plastic molding (abrasion resistance) • High-volume electronics (> 500k shots) • Auto interior trim dies |
Note: While P20+HH resists wear better, it is tougher on your cutting tools. Switch to ceramic or CBN inserts for machining efficiently above 38 HRC.
5. Full Hardening: Step-by-Step Guide
Control temperatures strictly during full hardening. This prevents cracking. Use this linear process to get a consistent core hardness between 33-42 HRC.
| Stage | Action & Parameters | Critical Target |
|---|---|---|
| 1. Heating (Austenitizing) |
1. Preheat: Hold at 650°C. This balances the temp. 2. Heat: Rise to 880-900°C. 3. Soak: Keep here for 10-20 hours. Check thickness to decide time. |
Uniform Internal Temp Stops thermal shock. |
| ⬇ Rapid Cooling Phase ⬇ | ||
| 2. Quenching (Staged Cooling) |
1. Air Cool: 3 mins right after the furnace. 2. Mist Cool: Spray mist for 4 mins. 3. Water Spray: Until the surface hits 700°C. 4. Wind Cool: Cool down to final 150°C. |
Stop at 150°C Don’t cool to room temp yet! You risk cracking. |
| ⬇ Stabilization Phase ⬇ | ||
| 3. Tempering (Double Cycle) |
Cycle 1: Heat to 585-600°C → Hold → Cool to room temp.
Cycle 2: Reheat to 560°C → Air Cool. |
33-42 HRC Removes retained austenite. You get stable dimensions. |
Process Note: “Staged Quenching” (Air → Mist → Water) is key for P20. It cuts thermal shock. This stops thick blocks from cracking. You also ensure the core gets hard enough.
Alternative Heat Treatment Routes
Three methods achieve different property balances:
Quench + Temper delivers highest hardness at same tempering temperature. Use this for maximum wear resistance.
Normalize + Temper provides better toughness. Pick this for impact-prone applications.
Hot Roll + Temper offers lowest cost processing. This works for non-critical tooling.
Full hardening costs 20-30% more than using pre-hardened stock. You gain precise hardness control. Plus, you get maximum performance for demanding applications exceeding 1 million cycles.
6.Carburizing: Surface Hardening
Carburizing creates a carbon-rich outer layer on your P20 mold. At the same time, the core remains tough and ductile. This gives you a “hard shell, soft core” structure. It boosts surface hardness past 60 HRC. You get two times the wear resistance of standard through-hardening.
Method Comparison: Pick Your Process
Choose the carburizing method that suits your batch size. Mold shape matters too.
| Method | Process Characteristics | Best Application |
|---|---|---|
| Gas Carburizing | This uses propane or methanol in controlled spaces. Carbon spreads evenly. | Complex Shapes: Use this for deep cavities and fine details. High precision ensures uniform case depth. |
| Liquid Carburizing | Dip parts in a molten salt bath. This lets heat spread at an even rate. | Small Batches: Distortion risk stays low. It works great for different parts that need varied case depths. |
| Solid Carburizing | Pack parts with compound in sealed boxes. Cool slowly to reduce thermal shock. | Basic Setup: Good for shops that lack gas furnaces. Clean parts thoroughly before you pack them. |
The 3-Step Heat Treatment Protocol
Carburizing alone will not finish the job. You need this specific heat treatment cycle. It locks in performance.
| Step | Temperature / Action | Technical Purpose |
|---|---|---|
| 1. First Quench | Heat above Ac3 → Quench | Core Refinement: It builds a fine grain structure in the center. This creates toughness. |
| 2. Second Quench | Reheat to 780-810°C → Oil/Gas Quench | Case Hardening: Transforms the carburized layer into hard martensite. This step stops warping. |
| 3. Tempering | Heat to 150-180°C → Hold | Stabilization: Relieves internal stress. You don’t lose the new hardness. |
Advanced Option: Carbonitriding
Do you need more protection against glass-filled plastics? Carbonitriding adds nitrogen to the mix.
- Case Depth: 0.07-0.75mm (Precision) to 1.5-1.8mm (Deep).
- Process: Deep carburize first. Then carbonitride. Quench in oil right away.
- Result: Wear loss drops significantly compared to standard carburizing.
Pro Tip: Don’t rush the heating process. Start with stress relief at 450°C for 30 minutes. Then, heat in steps to 650°C. Slow heating stops thermal gradients. These gradients cause cracking in thick sections.
7. Nitriding: Achieving 60+ HRC
Nitriding builds a hard “armor” on your P20 mold. The core stays tough to absorb shock, while the surface becomes harder than glass to fight wear. This two-layer approach works better than through-hardening because it stops your mold from warping during treatment.
Ideal nitriding chemistry needs: Carbon content around 0.3% and combined Cr+Mo totaling ~3%. Too much carbon stops nitrogen from spreading. Case depth drops. Hardness drops too.
Method Comparison:
Different nitriding methods give you different case depths and control levels.
| Method | Case Depth / Speed | Key Advantage |
|---|---|---|
| Gas Nitriding (Hard Nitriding) |
~0.30mm (Slower process) |
Best for complex shapes. The gas reaches every corner of deep cavities evenly. |
| Plasma Nitriding (Ion Nitriding) |
~0.30mm (Fast process) |
precision control. Lower heat means less risk of dimension changes. Great for high-tolerance parts. |
| Soft Nitriding (Nitrocarburizing) |
< 0.10mm (Fastest cycle) |
Cost-effective speed. Good enough for standard wear issues but the layer is thin. |
Performance Boost: The Real Gains
What exactly do you get after treatment? The hardness jump is massive.
| Property | Before Nitriding | After Nitriding | Functional Benefit |
|---|---|---|---|
| Surface Hardness | 30 – 36 HRC | 60 – 65 HRC (~850 HV) |
Resists scratches from glass-filled nylon and mineral plastics. |
| Wear Life | Baseline | 200% – 300% Increase | Drastically extends shots between repairs. |
| Friction | Standard Steel | Low Coefficient | Improved release properties. Parts don’t stick as easily. |
Critical Prep: Don’t nitride dirty steel. You must machine the parts first, then stress relieve. For the best results, start with a base material hardness of HRC 38-42. If the core is too soft, the hard “shell” might crack under heavy pressure—like thin ice on a pond.
Other surface options exist: PVD coating, plasma treatment, laser hardening, and induction hardening. Each gives different properties. Nitriding wins for deep case depth with minimal distortion on complex mold cavities.
8. Matching Hardness to Production
Match the P20 hardness to your project. This cuts your tooling costs. No need for premium hardness on a prototype. Also, standard grades perform poorly on abrasive plastics.
| Hardness State | Best Uses | Why It Works |
|---|---|---|
| Pre-hardened (30-34 HRC) |
• Prototypes • Toys & Simple Packaging • Low-volume runs (< 100k) |
Cost-Effective: It machines easily. Great for short runs where tool life is secondary. |
| High-Hardness (34-38 HRC) |
• Home Appliances • Consumer Electronics • Cosmetic parts requiring polish |
Balance: Holds tight tolerances. You get better finishes on medium runs. |
| Surface Nitrided (> 60 HRC) |
• Glass-filled plastics • Auto engine parts • Mineral-reinforced materials |
Armor Plated: The shell stops abrasion. The core takes the hits. |
Bottom Line: Going over 500,000 shots? Stop. P20 is the wrong pick. Use H13 or Stavax for core inserts instead.
9. Hardness adjustment for special conditions
Tight budgets? Pick cost-smart options. Standard P20 pre-hardened at HRC 30-40 cuts tooling costs by 30% versus H13 or 718. Machine the mold, polish surfaces, and start making parts right away.
Glass-filled or mineral-reinforced plastics? Protect the surface. Nitriding treatment raises surface hardness to HV 750 with 0.2mm case depth. This stops early wear from abrasion. Your P20 base stays tough. The nitrided layer handles rough materials.
How P20 stacks up:
- NAK80 runs at HRC 37-43 with great pre-polished finish. Choose this for mirror-quality cosmetic parts.
- STAVAX gives HRC 50-52 corrosion resistance. Optical lenses and medical-grade clear products need this level.
- Standard P20 at HRC 30-40 balances cost and performance for general plastic molding.
Your production needs should guide material choice. Calculate total cost per part over the tool’s life. The cheapest material doesn’t usually mean the cheapest manufacturing cost.
The Bottom Line
Don’t overthink your P20 hardness choice. Only one factor matters: your production volume.
Prototypes or short runs under 100,000 shots work best with standard pre-hardened (30-34 HRC). It costs less and machines easily. Need serious production (up to 500k shots) or a mirror polish? The small premium for P20+HH (34-38 HRC) is worth it. You save money later through reduced maintenance.
Glass-filled plastics wear down molds quickly. Relying on the steel’s core isn’t enough. Nitride it. This gives you a 60+ HRC protective shell.
Aiming for a million parts? P20 won’t hold up. You need H13 or Stavax. Pick the right hardness now. You avoid mold repairs later.