In real tooling work, steel selection is not driven by what is written in brochures. It is driven by what happens after heat treatment, during grinding, and on the press. When a blanking die chips early or a punch loses alignment, the failure is rarely mysterious. It is almost always related to how the steel hardened, how much it moved, or how it was machined.
O1 steel, known in Europe as DIN 1.2510, continues to be specified in high-precision cold-work tooling because it behaves in a controlled and repeatable way. It does not offer the highest wear resistance on the market, but it delivers dimensional stability, predictable hardening, and good toughness, which are often more important in real die sets.
This guide explains O1 not as a catalog product, but as a working material inside punches, dies, and tooling assemblies.

What O1 Tool Steel Really Is
O1 is an oil-hardening cold-work tool steel with a high carbon and manganese base. That design allows it to transform into martensite through relatively thick cross sections using an oil quench instead of water. The slower cooling rate reduces internal stress, which is why O1 shows far less cracking and distortion than water-hardening grades.
Under DIN EN ISO 4957, the steel is designated 1.2510 or 100MnCrW4 steel. In Japan it is sold as SKS3 steel, and in China as 9CrWMn steel. These are metallurgically equivalent grades designed around the same chemistry.
The key difference between O1 and modern high-alloy tool steels is that O1 is engineered for stability rather than extreme wear resistance. That stability is what allows toolmakers to predict size change, grind allowances, and final assembly fit.
Chemical Composition and Its Effect on Tool Performance
The chemical design of O1 controls how it hardens, how it resists wear, and how stable it is after quenching. Typical production heats fall inside the ranges below.
Typical Chemical Composition of O1 / DIN 1.2510
| Element | Typical Range | Role in Performance |
|---|---|---|
| Carbon (C) | 0.90 – 1.05% | Controls maximum hardness and edge holding |
| Manganese (Mn) | 1.00 – 1.30% | Provides deep hardenability for thick sections |
| Chromium (Cr) | 0.40 – 0.70% | Improves wear resistance and temper stability |
| Tungsten (W) | 0.40 – 0.60% | Forms hard carbides for edge retention |
| Vanadium (V) | 0.02 – 0.10% | Refines grain and improves abrasion resistance |
| Silicon (Si) | 0.10 – 0.40% | Deoxidation and base strength |
| Phosphorus | ≤ 0.030% | Limited to prevent brittleness |
| Sulfur | ≤ 0.030% | Limited to avoid hot cracking |
In real toolrooms, the most important elements to monitor are manganese and tungsten. When manganese drops below about 1.0 percent, hardening depth is reduced. When tungsten falls significantly below 0.4 percent, edge stability and wear resistance suffer. This is why mill certificates matter more than grade labels.
Standard Stock Sizes and Weights
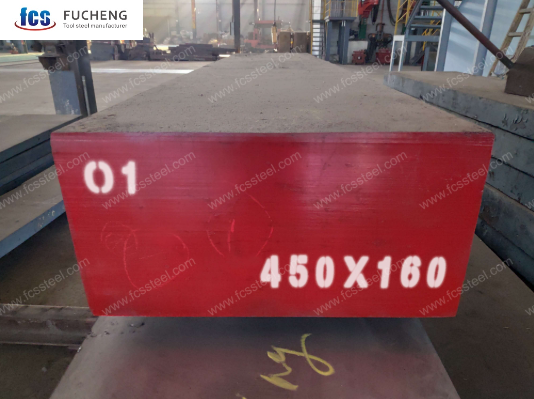
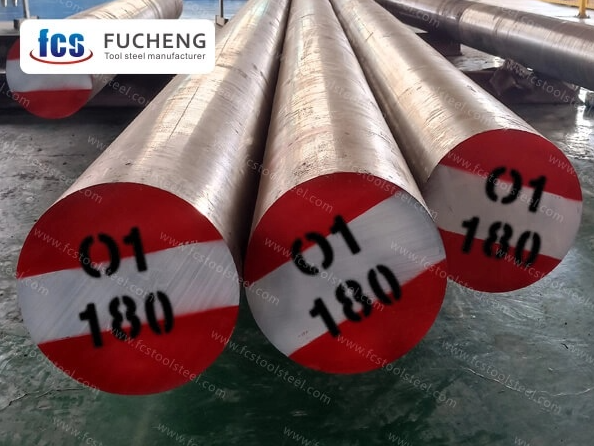
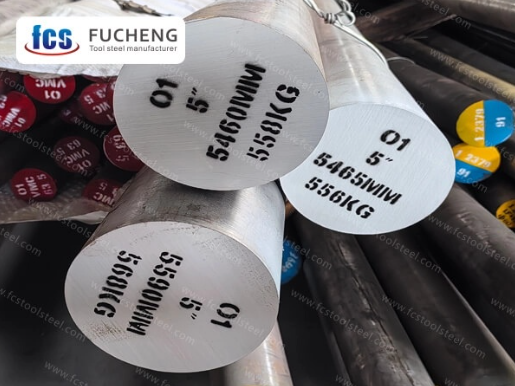
O1 is produced in bar, flat, and plate form, covering almost all die and punch geometries. The density of hardened O1 is approximately 7.8 g/cm³, which allows accurate weight calculation.
Typical Weight of O1 Round Bars
| Diameter (mm) | 10 | 20 | 30 | 40 | 50 | 60 | 80 | 100 | 150 | 200 |
| Weight (kg/m) | 0.62 | 2.47 | 5.55 | 9.86 | 15.4 | 22.2 | 39.5 | 61.7 | 139 | 247 |
These values are important in practice. A 100 mm punch blank one meter long weighs more than 60 kilograms. That affects heating uniformity in the furnace and quenching behavior, not just shipping cost.
Plate stock is commonly supplied from 2 mm to 300 mm in thickness, with widths from 100 mm to over 800 mm. Precision-ground plates in the 6–80 mm range are widely used for stripper plates, backing plates, and die shoes.
💡 Pro Tip: The “Soft Skin” Danger (Decarburization)
O1 chemistry makes it notoriously prone to losing surface carbon during heating. This is a critical factor when ordering raw stock.
Real-World Rule: If you are starting with hot-rolled (black) material, do not skimp on your machining allowance. You must plan to remove at least 1.5 mm (0.060″) per side before heat treatment.
Failing to cut deep enough will leave you with a “soft skin” after quenching—a surface layer that has lost its carbon and will not harden properly, leading to immediate wear issues even if the core hardness is correct.
Dimensional Accuracy of Supplied Stock
The form in which O1 is supplied determines how much machining and grinding will be required.
Hot-rolled plates may vary by up to 1–2 mm in thickness. Peeled or turned round bars are usually delivered to H9 or H11 steel tolerances. Precision-ground plate is normally supplied with a thickness tolerance of 0 to +0.10 mm and flatness better than 0.01 mm per 100 mm.
For die sets, this accuracy matters because it defines how well components align before and after heat treatment.
Dimensional Change During Heat Treatment
One of the main reasons toolmakers prefer O1 is its predictable size change during hardening.
When O1 is austenitized at approximately 820–840 °C and oil quenched, it expands slightly. The typical linear change is about 0.0004–0.0010 inch per inch, or roughly 0.010–0.025 mm per 25 mm.
A 200 mm long punch will therefore grow by about 0.10 to 0.20 mm. This growth is very consistent when chemistry and heat treatment are controlled, allowing precise grinding allowances to be planned.
⚠️ WEDM Warning: Although O1 is stable, it is sensitive to Wire EDM. You must perform stress tempering at 150–180°C immediately after cutting. Skipping this step often leads to micro-cracking in thin sections caused by the brittle recast layer.
Precision Tolerances for O1 Tool Steel in Die Manufacturing

When toolmakers talk about tolerances, they are not talking about catalog numbers. They are talking about whether a punch will slide freely in a die button after heat treatment, or whether a stripper plate will distort enough to cause uneven wear.
O1 is favored in precision tooling because its dimensional change is small, uniform, and predictable when oil quenched.
Real‐World Size Change of O1
In controlled oil quenching from 820–840°C and double tempering at 180–220°C, typical O1 linear growth is:
| Condition | Typical size change |
|---|---|
| Normal cross-sections | 0.0004 – 0.0010 in/in (0.010 – 0.025 mm per 25 mm) |
| Thick or asymmetric sections | up to 0.0015 in/in (≈0.04 mm per 25 mm) |
This is why O1 can be finish-ground after hardening with very little stock allowance.
For most die components, toolrooms leave 0.15–0.25 mm per side for grinding after heat treatment. That is significantly less than what is required for water-hardening or high-distortion steels.
Stock Material Tolerances Before Machining
The supplied form of O1 determines how much machining is required before heat treatment.
| Stock form | Typical tolerance | Where it is used |
|---|---|---|
| Hot-rolled plate | ±0.5–1.5 mm | Large die shoes, backing plates |
| Peeled or turned bar (h9–h11) | +0 / +0.04 mm | Punch blanks, guide pins |
| Precision-ground plate | 0 / +0.10 mm | Stripper plates, die inserts |
For precision die sets, ground plate and peeled bar are preferred because they reduce pre-hardening machining and keep part geometry symmetric, which minimizes distortion.
Die Set Selection Using O1 Tool Steel
Selecting O1 is not about whether it is “good” or “bad”. It is about whether the failure mode of the die matches what O1 is good at.
Where O1 Performs Best
O1 is optimized for:
- Sharp cutting edges
- Moderate impact loading
- Tight clearance tools
- High dimensional accuracy
This makes it ideal for blanking dies, fine blanking inserts, shear blades, trim dies, forming dies, and precision punches.
In real stamping operations, O1 performs best when:
| Workpiece material | Thickness | Typical life |
|---|---|---|
| Low carbon steel | ≤ 3 mm | 1–3 million strokes |
| Stainless steel | ≤ 1.5 mm | 200k–500k |
| Aluminum / Copper | ≤ 6 mm | > 3 million |
Above these limits, wear—not fracture—becomes the dominant failure mode, and higher-alloy steels are more economical.
How to Design Clearances for O1
Because O1 is tough but not extremely wear-resistant, die clearance must be slightly larger than for D2 or CPM steels.
Typical recommended clearances:
| Material being stamped | Clearance per side |
|---|---|
| Mild steel | 6–8% of thickness |
| Stainless steel | 8–10% |
| Aluminum | 5–6% |
These values reduce edge chipping and improve punch life when using O1 at 58–60 HRC.
Punch and Die Insert Geometry
O1 does not like sharp internal corners after heat treatment. To maintain accuracy:
- Inside radii should be ≥ 0.5 mm
- Wall thickness should not vary by more than 30% within a part
- Long punches should have L/D ≤ 6:1
These design rules keep quench distortion under control and prevent micro-cracking.
Hardness and Heat Treatment Behavior
O1 responds strongly and linearly to tempering. After oil quenching, hardness is typically 64–66 HRC. Tempering reduces hardness while increasing toughness.
Hardness vs Tempering Temperature
| Tempering Temperature | Final Hardness |
|---|---|
| As quenched | 65–66 HRC |
| 150 °C | 63 HRC |
| 200 °C | 60 HRC |
| 250 °C | 58 HRC |
| 300 °C | 55 HRC |
Most punches, blanking dies, and shear blades are used at 58–60 HRC, which gives a balance of wear resistance and impact strength.
Mechanical Properties in Service

At around 60 HRC, properly treated O1 typically provides:
Typical Mechanical Properties of O1 at 60 HRC
| Property | Typical Value |
|---|---|
| Tensile strength | 1600–1800 MPa |
| Compressive strength | >2500 MPa |
| Elastic modulus | ~210 GPa |
| Impact toughness (Charpy V) | 6–10 J |
| Density | ~7.8 g/cm³ |
These values explain why O1 survives repeated punching shocks better than high-chromium steels at the same hardness.
Machining and Toolroom Experience
In the annealed condition, O1 is typically 200–220 HB. At this hardness it machines easily with carbide tools and produces smooth surfaces. This allows sharper corners and better cavity finishes than harder-to-machine steels like D2 steel.
After heat treatment, O1 grinds cleanly and is less prone to grinding cracks than many high-alloy grades. This is especially important for thin punches and die inserts.
Typical Die Set Applications
O1 is widely used for blanking punches, die buttons, shear blades, forming tools, guide components, backing plates, and precision gauges. It is especially well suited for tooling that works on carbon steel, aluminum, and copper alloys.
It is not ideal for extremely abrasive environments such as stainless steel blanking or glass-filled plastics, where higher-alloy or powder metallurgy steels provide longer wear life.
Why “Equivalent” Grades Are Not Always Equal
Although DIN 1.2510, ASTM O1, SKS3, and 9CrWMn are considered equivalents, their actual performance depends on chemistry control and steelmaking quality. Low-cost material often shows reduced manganese or tungsten, which leads to shallow hardening and poor dimensional stability.
This is why serious toolmakers insist on chemical analysis and not just a grade name.
Conclusion
O1 tool steel remains one of the most reliable materials for precision cold-work tooling because it offers something that modern alloys often sacrifice: predictable behavior. Its chemistry, oil-hardening response, dimensional stability, and machinability make it an excellent choice for punches, dies, and gauge components where accuracy and repeatability matter more than chasing extreme wear resistance.
When specified correctly, purchased from a controlled mill, and heat treated properly, O1 delivers tooling that fits, runs, and lasts exactly as designed.
